| title | Getting Started with McpMux |
|---|---|
| description | Download McpMux, install your first MCP server, and connect Cursor, Claude, or VS Code in under 5 minutes. Step-by-step setup guide. |
Get McpMux running and connect your first AI client in just a few steps.
- Operating System: Windows 10+, macOS 12+, or Linux (Ubuntu 20.04+, Fedora 38+)
- AI Client: At least one MCP-compatible client installed (Cursor, Claude Desktop, VS Code, etc.)
Download McpMux for your platform from the download page.
- Windows: Run the
.msiinstaller - macOS: Open the
.dmgand drag McpMux to Applications - Linux: Install via
.deb,.rpm, or.AppImage
McpMux runs in the system tray — look for the McpMux icon after installation.
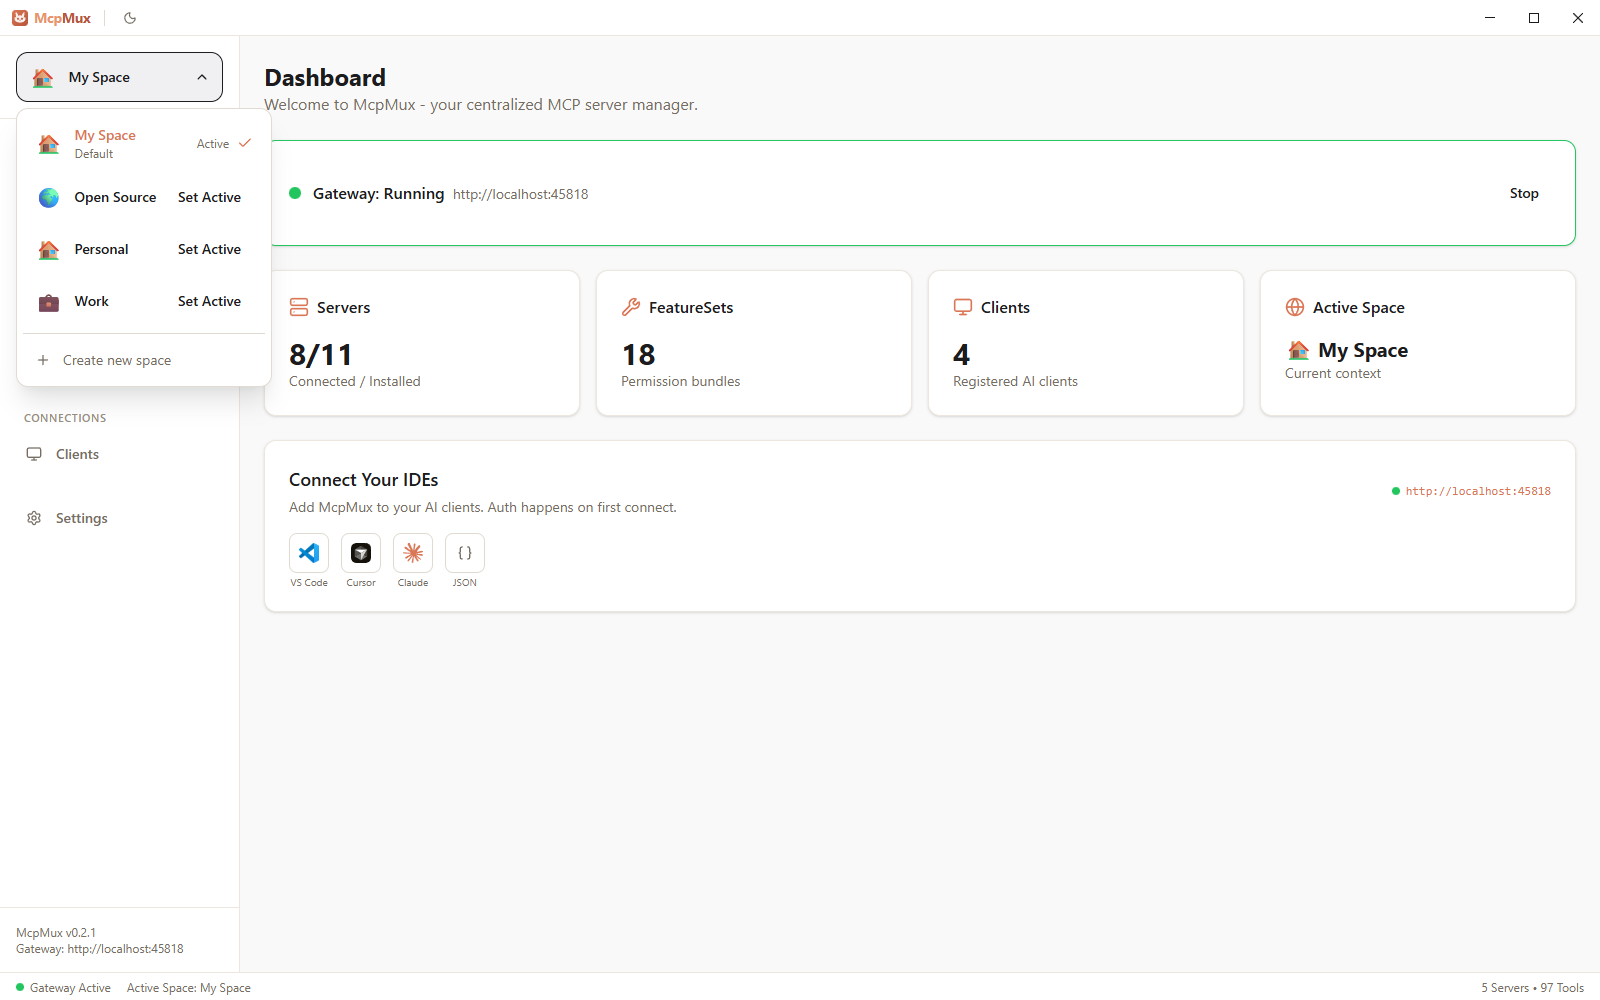
When you first open McpMux, a default Space is created for you. Spaces are isolated environments with their own server configurations and credentials.
You can create additional Spaces later for different contexts:
- Work — company tools with work credentials
- Personal — side projects with personal API keys
- Client-A — isolated environment for a specific client
To create a Space, go to the Spaces page and click Create Space.
Navigate to Discover Servers in McpMux or browse the server registry on this website. You'll find 100+ MCP servers for popular tools.
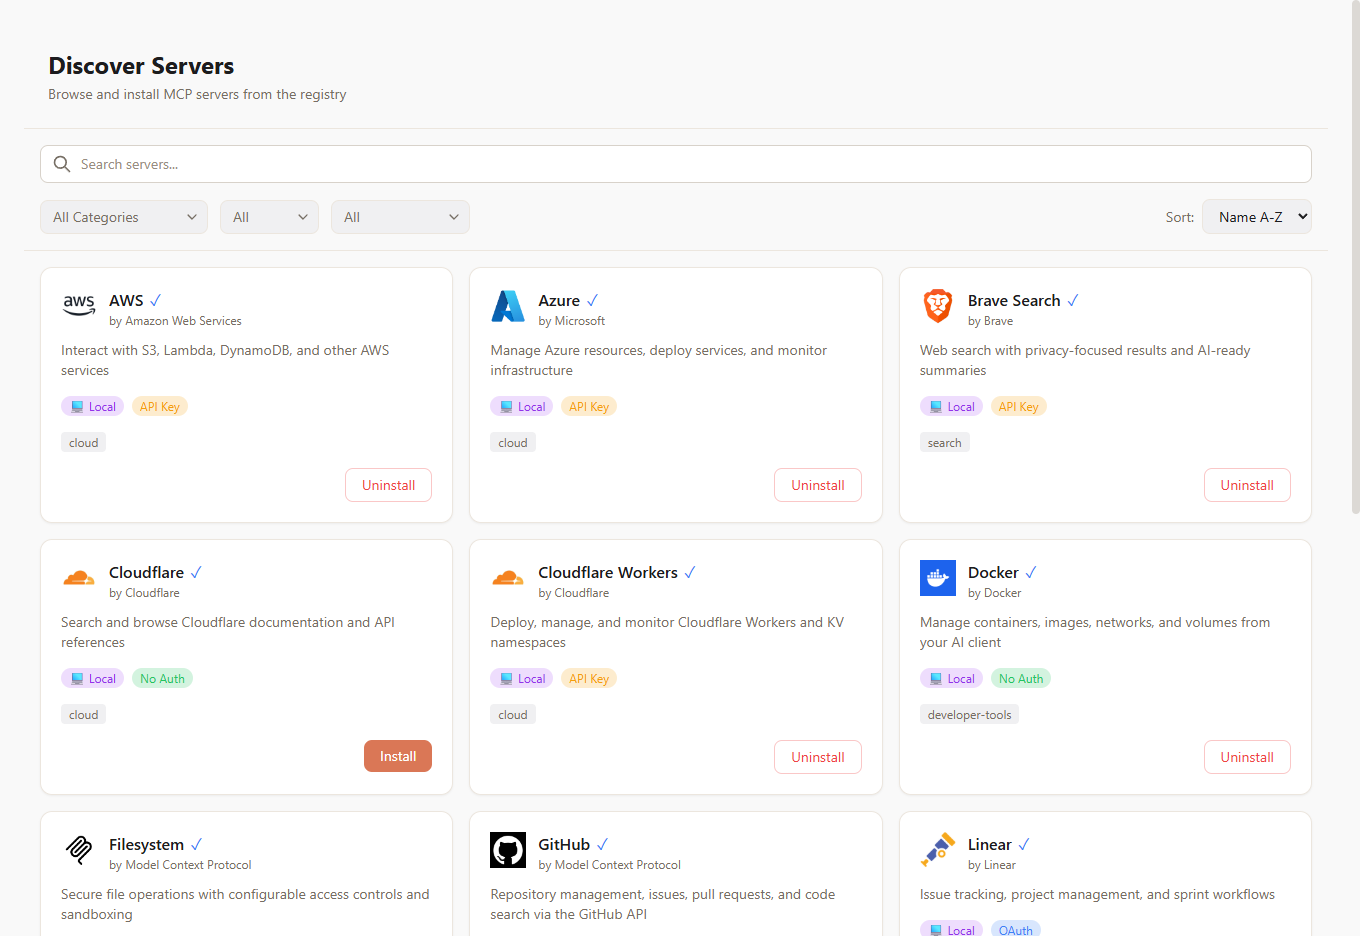
Click Install on any server to add it to your active Space. Popular choices to start with:
- Filesystem — read and write local files
- GitHub — interact with repositories, issues, and PRs
- Brave Search — web search capabilities
- Playwright — browser automation
If the server requires authentication (API keys, tokens, etc.), a configuration dialog appears automatically after installation. Fill in the required fields:
- API keys are stored encrypted using AES-256-GCM — they never touch disk in plaintext
- Click the obtain link (if provided) to go directly to the service's token creation page
- Sensitive fields are masked in the UI and stored in the OS keychain
See Server Management for details on all configuration options.
Go to the Dashboard and click Start Gateway. The gateway starts on localhost:45818 and begins connecting to your enabled servers.
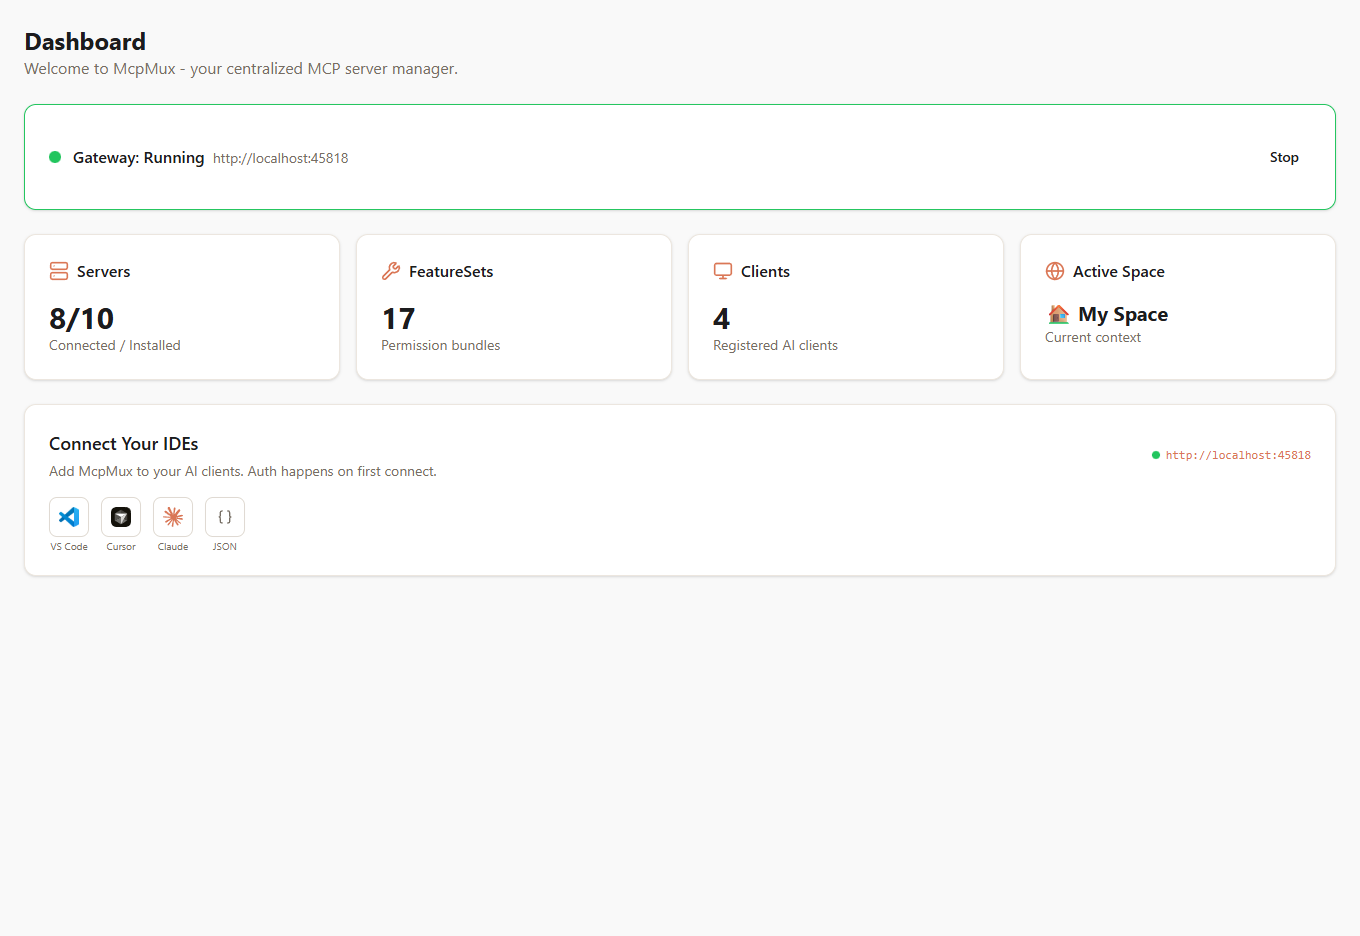
You'll see server status indicators change:
- 🟡 Connecting — establishing MCP handshake
- 🟢 Connected — ready to serve requests
- 🔴 Error — check server logs for details
Configure your AI client to connect to McpMux's gateway endpoint. The exact setup depends on your client:
Add to your Cursor MCP settings (.cursor/mcp.json):
{
  "mcpServers": {
    "mcpmux": {
      "url": "http://localhost:45818/mcp"
    }
  }
}Add to your Claude Desktop config (claude_desktop_config.json):
{
  "mcpServers": {
    "mcpmux": {
      "url": "http://localhost:45818/mcp"
    }
  }
}Add to your VS Code settings (.vscode/mcp.json):
{
  "servers": {
    "mcpmux": {
      "url": "http://localhost:45818/mcp"
    }
  }
}Add to your Windsurf MCP configuration:
{
  "mcpServers": {
    "mcpmux": {
      "serverUrl": "http://localhost:45818/mcp"
    }
  }
}
Once connected, your AI client can access all the tools, resources, and prompts from every enabled MCP server — through the single McpMux gateway endpoint.
- Learn about Spaces to organize your environments
- Configure FeatureSets to control tool permissions
- Browse the server registry to find more MCP servers
- Understand security and how McpMux protects your credentials